The Internet has eliminated the geographical barrier between business owners and their potential customers. As long as you are connected to the internet, you can live on some remote island or in the middle of a cold desert and sell your products to customers all around the world. Cheers to Information Technology!
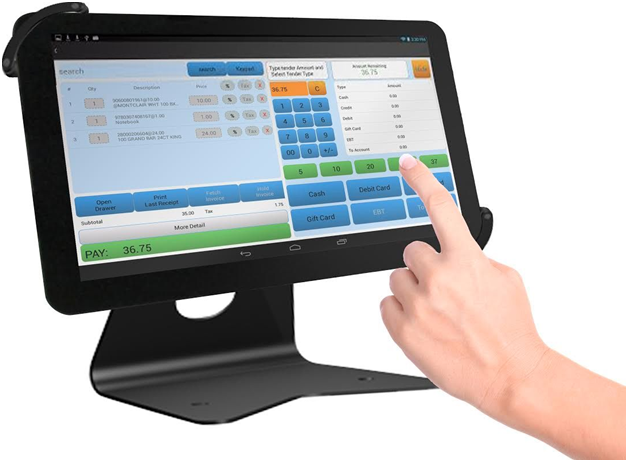
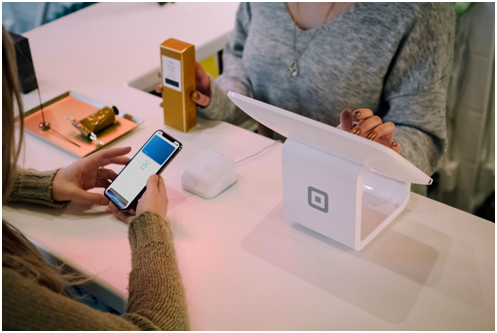
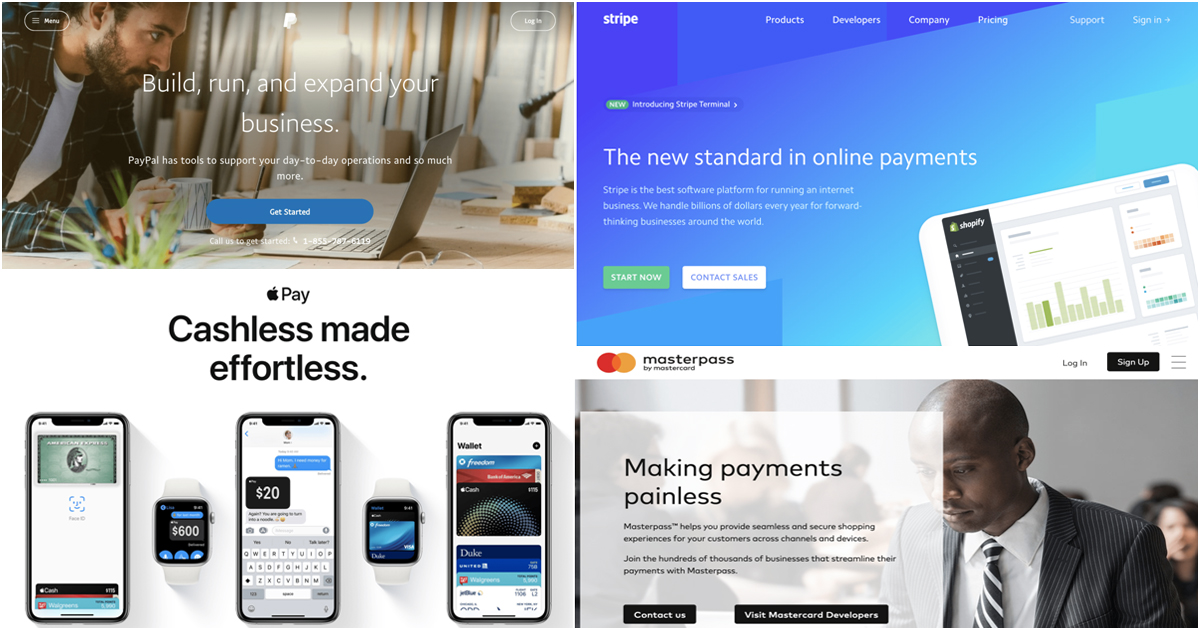
When it comes to owning online businesses, it is imperative to invest in the best eCommerce payment solutions, so not only the payment regime is as seamless as possible, but also that the sensitive information (credit/debit card numbers and CVV) is passed securely from customers to the merchants.

PayPal is irrefutably the kingpin in the payment processing market. Available in almost 200 countries and supporting 25 currencies, it is the safest and the securest option available to route digital transactions.
With PayPal integrated into a system, the SINGLE CLICK feature allows to digitally send and receive money without taking the sensitive financial information to the gallows.
TL;DR, here are three simple ways to use PayPal to collect payments to and fro, without any hassles whatsoever!
PayPal, in 2015, launched PayPal.me for ordinary people getting paid using a simple web address. To set it up, simply follow the steps mentioned hereunder.
The first thing to do for using it is registering your name as the address, and you receive a unique link that you can use to ask for online payment processing. The link can be something like this “PayPal.me/username”
Simply add the amount of money to this link. For instance, if a transaction of 10 dollars is to be made, the link can be modified as “PayPal.me/username/10”.
When the person who is to send you the money clicks on this link, he/she will reach a responsive page where the 10 dollars can be sent. You can add the PayPal.me link to your WordPress post or can insert it into an email, message, or even a tweet.
The PayPal Donations plugin can be customized to accept all kinds of payments. Just like the Quick PayPal payment, this plugin also uses shortcodes and comes with a ready-to-use WordPress widget, that can be used in the widget area or in the sidebar.
Once the plugin is installed and activated, go to “settings” and then click “PayPal Donations” to customize the payment.
If you run a huge business and have multiple products to sell, the above-mentioned plugins will not be enough, and you would have to add a shopping cart plugin.
By adding the WordPress Simple PayPal Shopping Cart plugin to your website, visitors can view all the products to be sold. Every product selected will automatically be added to your shopping cart, and via PayPal, the payment processing can be made quick and easy.
Here is how by following ten simple steps, you can activate and install the WordPress Simple PayPal Shopping Cart plugin:
Open your WordPress site and navigate to the plugins page and then click on the “Add New” Option. You will have three options in total, namely “Installed Plugin,” “Add New,” and “Editor.”
On the top left side of the page in the Plugins Page, click on “Add New.”
You will see a search bar on your left that says “Search Plugins,” type the Simple PayPal Shopping Cart and click Install to proceed.
After you have clicked the “Install Now” option, you will be asked to confirm the installation. Click on “OK” to move onto the next step.
On getting the plugin installed successfully, you will now be asked to activate the plugin or return to the plugin installer. Click on “Activate Plugin” and wait for few seconds.
Once the plugin is installed and activated, the next thing to proceed with is going back to the dashboard and click on “Settings” below the “Users” and “Tools” option. A window bar will open, asking you to choose from 6 to seven options. If you can see the “WP Shopping Cart” in the list, select it, and the configuration is done.
You will have to fill in all the information from the PayPal email address to the name of your shopping cart. Also, add the currency and other significant pieces of data required in the form.
If you are done filling out all the essential information and have moved back to your dashboard, you will find the “Posts” bar with several other options such as Media, Comments, Appearance, and many more.
Click on “Add New” and proceed.
You now are to type the name of the desired product that will go on your e-store along with the description and price. If you are sure of this description, price and title, proceed with “Publish,” if you have second thoughts or might change the description, click on “Save Draft” and publish when fully satisfied.
After publishing the products with their price, go to the “Appearance” Bar just where you changed the settings. On clicking it, a small window with 5 to 6 options will appear on your screen.
Click on “Widgets” and activate it by dragging the shopping cart widget to the sidebar. Now click on the “Save” button to finish.
The online payment processing solutions are critical for your potential customers on your eCommerce site, and integrating it in WordPress is a great idea to provide a safe and secure payment platform to the customers.
Let us know if you found this article helpful in the comments section below.